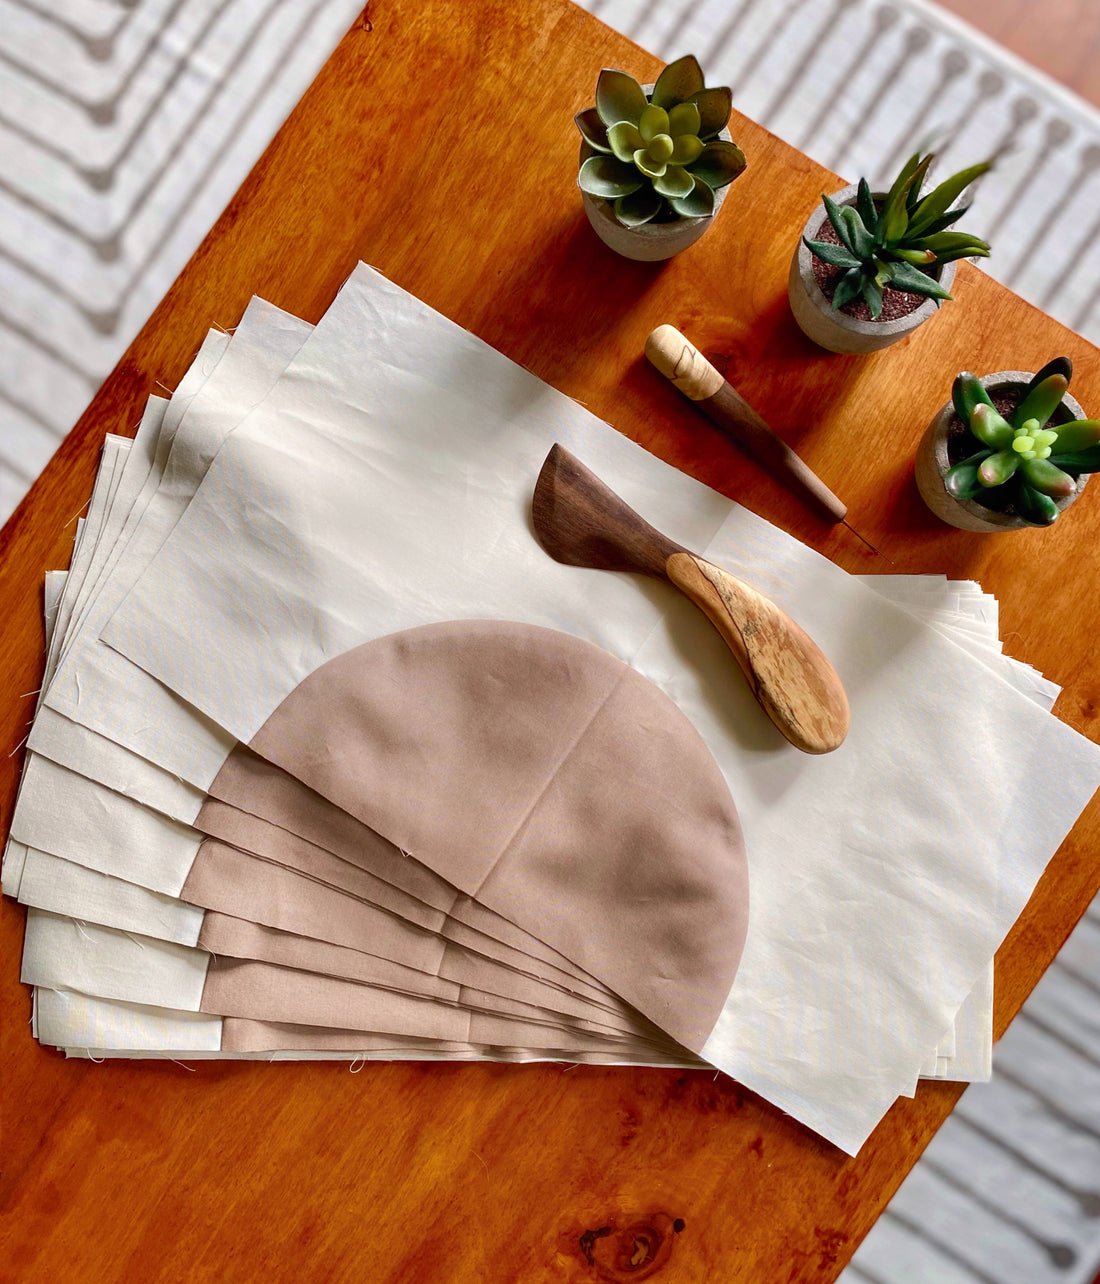
Solar Phases QAL Week Three

Solar Phases QAL Week Three

Welcome to Week Three of the Solar Phases QAL!

Who's excited to sew some curves? Nervous? Follow along below as I explain my process for sewing curves step-by-step. Quick tip before we get going: If this is your first time sewing curves, grab some scraps and try a couple of practice rounds first. The larger the curve, the easier it is to maneuver your fabric around the curved edge.

Stitch Length

First, let's talk about stitch length. I typically have my stitch length set between 2.0-2.5 on my machine for piecing. For curves, I drop my stitch length down to about 1.5. A smaller stitch length will help result in a smoother curve.

Okay! It's time to start pinning! Remember when we creased our folds for our A & B Templates? It's time to start lining up those creases.

Folded A & B Templates

Start by placing your Template B piece on top of your Template A piece, lining up the creases. 

Template B on Top of Template A
 
Pin where the creases align.
 
Template B fabric pinned to Template A fabric on crease
 
Now, things aren't going to look the prettiest for a minute. Trust me, it'll be okay though! Line up the bottom edge of Template B with the bottom (top in photo) of Template A. Pin edges together. See black bars where fabric will line up on the right next.

Line up edges
 
Pin on right side. I know some people like to use more pins, so if you're nervous to get going, sometimes more can be helpful at first! I only use two pins, just the center pin and then the pin to align the left edges together. I hold the right side together until I get it under my foot and start sewing.

Pinned Curve
  
Now it's time to sew! Slowly stitch around the outer edge of the curve using a 1/4" seam allowance. Go slowly! Gradually shift the fabric so that you're not stitching over any fabric folds. Remove pins as you go. I'll be sharing a video of each step on my Instagram later this week!

Sewn curves

You did it! Press seams to the inside. Next up, we trim!

Trimming Curves

Start by trimming the bottom of your curve. Trim very little off to create one flat edge across the entire piece. 

Trim bottom of curve

Next, after referring to your quilt size, trim width to the trim size. For the throw size, this is 8". 

Trim top

Next, trim the length of your block. If you lost your creased line after pressing, fold curve in half and crease. Line centered crease mark up, and trim according to quilt size. For throw, the final trimmed block size is 8" x 15 1/2", so trim both sides of the crease to 7 3/4". 

Trim Right Side

Your template block is all trimmed!

Trimmed Template Block

This Week's Prizes and Sponsors

The prize for Week Three of the Solar Phases QAL is a Modern Makes Box from Alderwood Studio as well as a $30 gift card to Tacoma Fabric Company! To be eligible for this week’s prize, post a photo to Instagram of your sewn curves by 8pm PST on March 20th and use the hashtag #SolarPhasesQAL and #SolarPhasesQuilt in your caption! A winner will be randomly chosen on Monday, March 21st! Remember that your account must be public to participate. 

Modern Makes Box

Tacoma Fabric Company

Happy sewing! See you next week!

Steph

Leave a comment